
Table of Contents
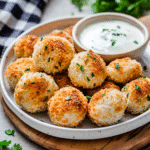
How a Simple Chicken Dinner Became Our Family’s Most-Requested Meal
If there’s one thing I’ve learned after years of feeding three growing children on a homesteader’s budget, it’s that sometimes the simplest recipes become the most beloved family traditions. This Lava Chicken is the perfect example—a meal that came about one Wednesday evening when I needed to transform basic chicken breasts into something special using just what I had in the refrigerator.
The name “Lava Chicken” came from my middle child, who excitedly shouted “It’s like LAVA!” the first time he cut into the crispy chicken breast and watched the melted cheese mixture flow out like molten lava from a volcano. The name stuck, and now it’s requested at least twice a month in our home.
What makes this recipe a staple in our budget-friendly meal rotation is its simplicity: just chicken breasts, a few basic cheeses (whatever you have on hand works!), and simple seasonings. Yet the presentation and flavor make it feel like something you’d order at a restaurant for triple the price.
What You’ll Need for Lava Chicken
Serves 4 | Cost per serving: Approximately $2.75
Ingredients:
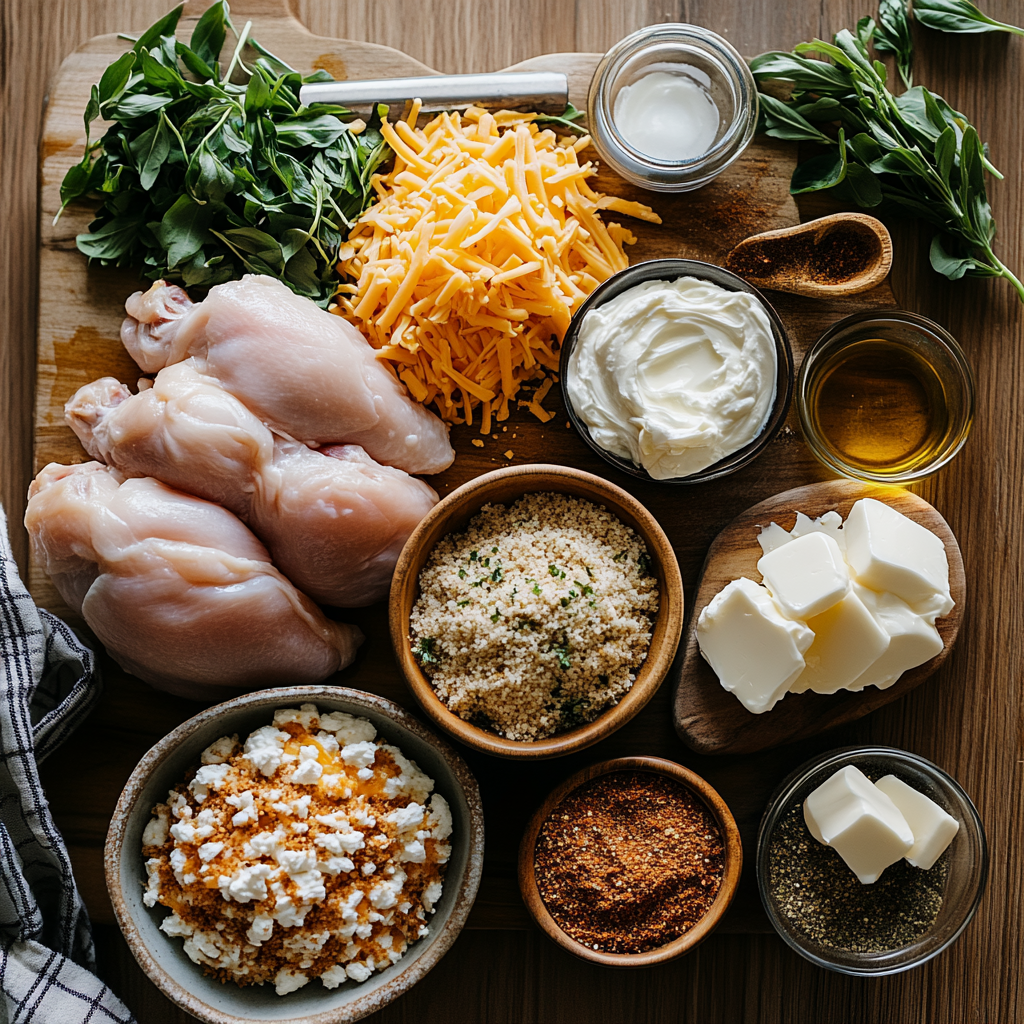
- 4 boneless, skinless chicken breasts ($5-6)
- 4 oz cream cheese, softened ($0.89)
- 1 cup shredded cheese (cheddar, mozzarella, or a mix of what you have) ($1.00)
- 2 tablespoons fresh herbs (I use whatever’s growing in our garden—parsley, chives, basil) ($0.25 or free from garden)
- 2 cloves garlic, minced ($0.10)
- 1 cup breadcrumbs (I often use crushed crackers or even cornflakes when we’re out of breadcrumbs!) ($0.50)
- 2 tablespoons butter, melted ($0.25)
- 1 teaspoon Italian seasoning ($0.05)
- Salt and pepper to taste
- 1 tablespoon olive oil ($0.15)
Equipment:
- Sharp knife
- Mixing bowl
- Baking dish
- Meat thermometer (helpful but not essential)
Let’s Make Lava Chicken!
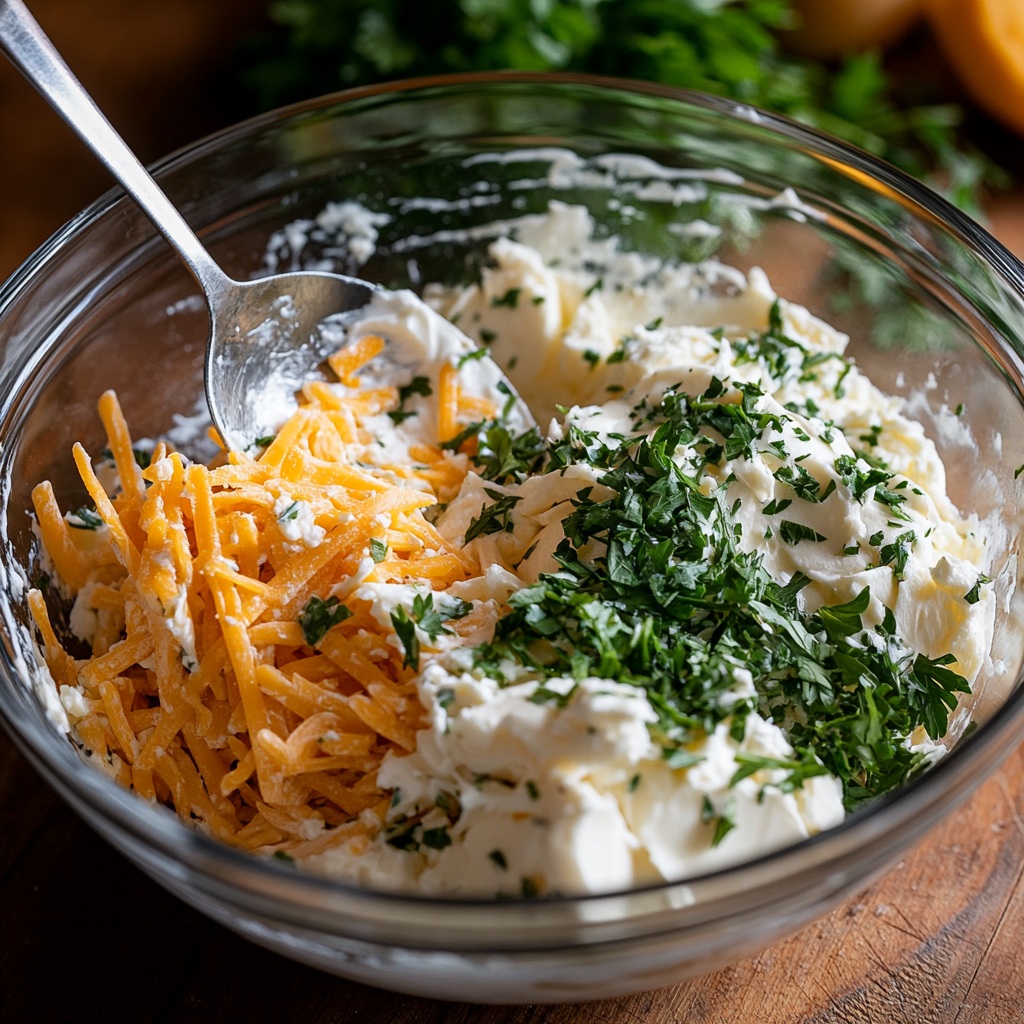
Step 1: Prepare the Cheese Filling
- Preheat your oven to 375°F.
- In a mixing bowl, combine the softened cream cheese, shredded cheese, minced garlic, chopped herbs, and a pinch of salt and pepper.
- Mix well until everything is evenly incorporated. This is your “lava” mixture!
Step 2: Prepare the Chicken
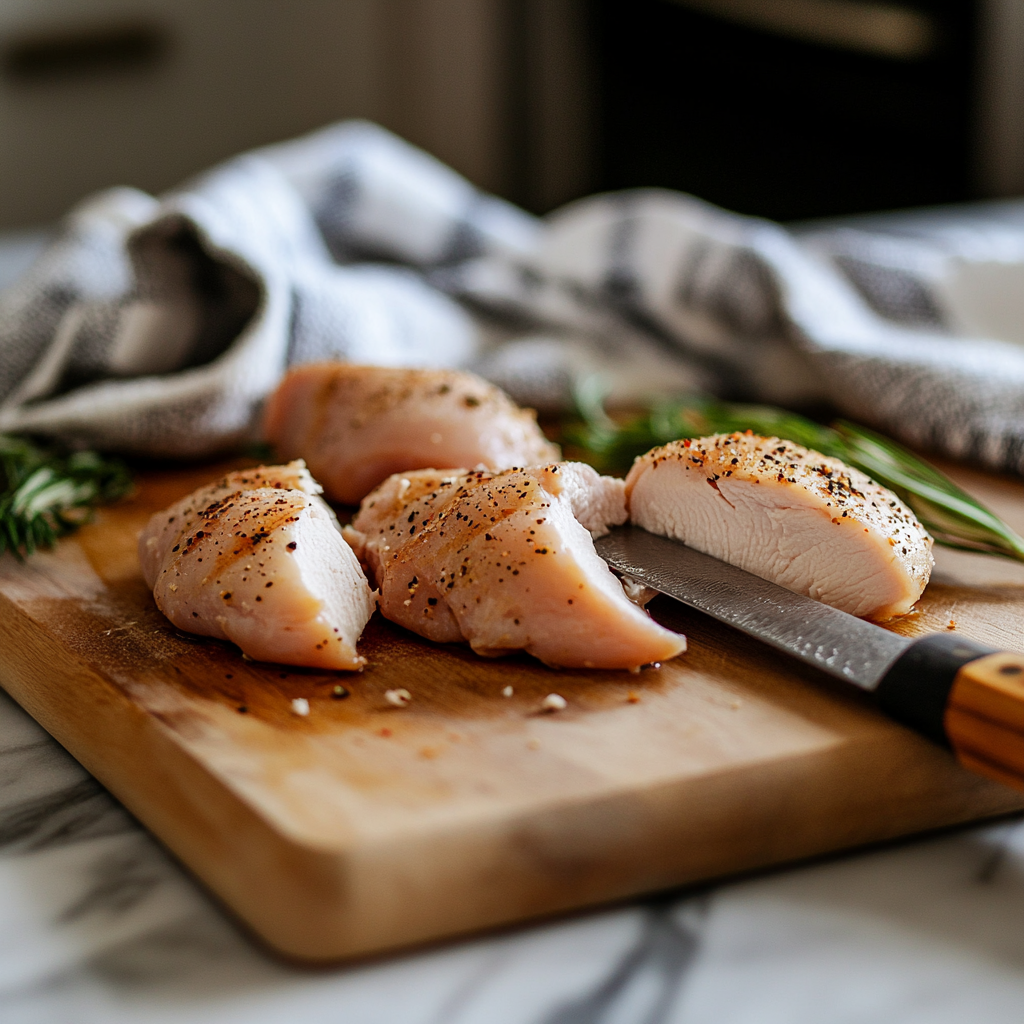
- Pat chicken breasts dry with paper towels (this helps the chicken get crispy rather than steamed).
- Using a sharp knife, cut a pocket into the side of each chicken breast. Be careful not to cut all the way through—you want to create a deep pocket that will hold the cheese mixture.
- Season both sides of the chicken breasts with salt and pepper.
Step 3: Stuff and Coat the Chicken
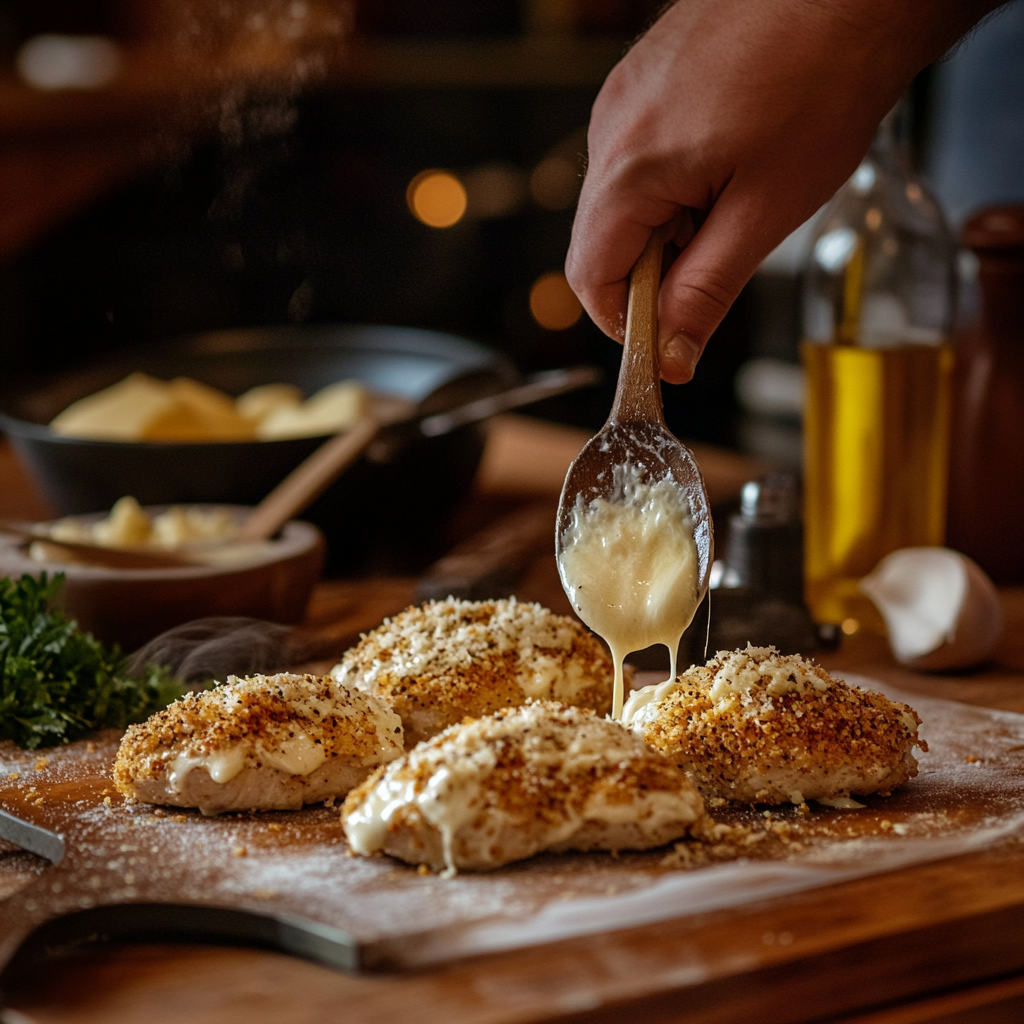
- Divide the cheese mixture evenly between the four chicken breasts, stuffing it into the pockets you created.
- If needed, use toothpicks to close the openings (though I usually find if you cut the pocket well, this isn’t necessary).
- In a shallow dish, combine the breadcrumbs, Italian seasoning, and a pinch of salt and pepper.
- Brush each stuffed chicken breast with melted butter, then coat in the breadcrumb mixture, pressing gently to help the coating adhere.
Step 4: Bake to Perfection
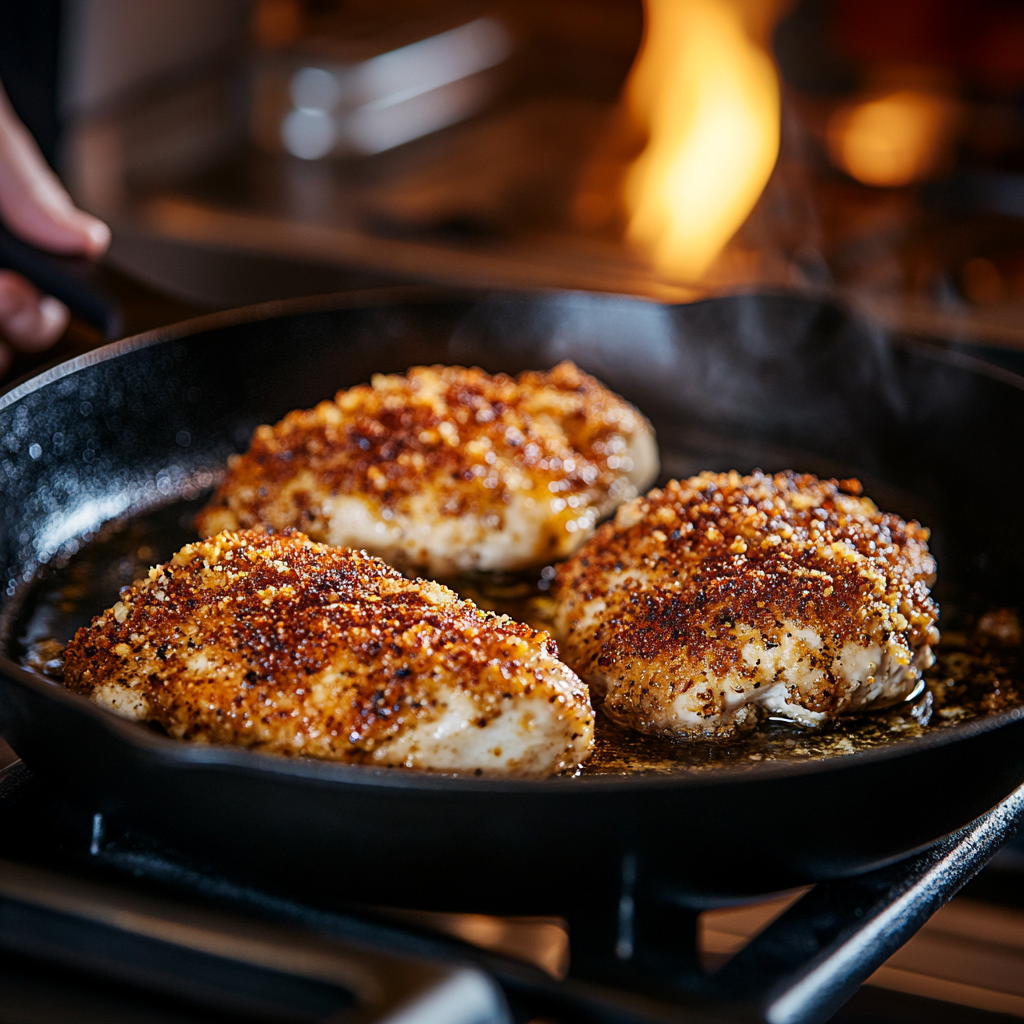
- Heat olive oil in an oven-safe skillet over medium-high heat.
- Quickly sear the chicken breasts for about 2 minutes per side, just until the coating begins to brown.
- Transfer the skillet to the preheated oven (or move chicken to a baking dish if your skillet isn’t oven-safe).
- Bake for 20-25 minutes, or until chicken reaches an internal temperature of 165°F and juices run clear.
- Let rest for 5 minutes before serving (this helps keep the “lava” from flowing out too quickly).
Why This Recipe Works So Well
The beauty of Lava Chicken lies in its balance of textures and flavors. The outside is crispy and golden from the breadcrumb coating, while the inside remains incredibly moist thanks to the cheese filling. The herbs and garlic infuse the melted cheese with flavor, creating a sauce that seasons the chicken from the inside out.
My children, who normally have varying opinions about everything I cook, unanimously agree that this dish deserves a spot in our regular meal rotation. Even my pickiest eater cleans his plate when Lava Chicken is served!
Make It Your Own: Variation Ideas
One of the reasons I love this recipe is its flexibility. Here are some variations we’ve tried and loved:
- Mediterranean Style: Use feta cheese, sun-dried tomatoes, and oregano in the filling
- Southwest: Add a tablespoon of taco seasoning to the breadcrumbs and use pepper jack cheese in the filling
- Italian: Use mozzarella and parmesan for the cheese filling and add a tablespoon of pesto
- Budget Extender: Add a half cup of cooked rice or quinoa to the cheese mixture to make it go further
What to Serve with Lava Chicken
We typically serve this with a simple vegetable side and a starch. Some favorite combinations include:
- Roasted seasonal vegetables and rice
- Steamed broccoli and mashed potatoes
- Garden salad and crusty bread to soak up any extra “lava”
- Sautéed green beans and buttered noodles
Money-Saving Tips for This Recipe
As with most of my recipes, I’m always looking for ways to stretch our food budget without sacrificing flavor:
- Buy chicken in bulk when on sale and freeze in meal-sized portions
- Use cheese ends (those bits that start to dry out) for the filling—they melt beautifully
- Substitute dried herbs if fresh aren’t available (use 1 teaspoon dried for each tablespoon of fresh)
- Make your own breadcrumbs from stale bread ends
- Double the recipe and freeze uncooked stuffed chicken breasts for another meal (freeze them separately on a baking sheet, then transfer to a container once solid)
From My Family to Yours
This Lava Chicken recipe has saved many a weeknight dinner in our home. It’s impressive enough for Sunday dinner with the in-laws but simple enough for a Wednesday night when I’m juggling work deadlines and after-school activities.
I hope your family enjoys it as much as mine does! If you try this recipe, I’d love to hear your variations and how your family reacted to the magical moment when the cheese “lava” flows onto the plate.
Irresistible Lava Chicken: A Budget-Friendly Family Dinner That Wows
Ingredients
Equipment
Method
- **Prep the Chicken:**
- Slice each chicken breast horizontally, creating a pocket without cutting all the way through.
- **Stuff the Center:**
- Insert a mozzarella stick or about 1/4 cup shredded cheese into each pocket. Secure with toothpicks if needed to prevent leaks.
- **Set Up Breading Stations:**
- In three shallow bowls:
- * Bowl 1: Flour + spices (salt, pepper, garlic powder, paprika)
- * Bowl 2: Beaten eggs
- * Bowl 3: Breadcrumbs
- **Bread the Chicken:**
- Coat each stuffed breast in flour, dip in egg, then cover with breadcrumbs. Press gently to adhere.
- **Cook It Up:**
- **Option 1 – Bake:**
- Preheat oven to 400°F (200°C). Place chicken on a greased or parchment-lined baking tray. Lightly brush tops with oil. Bake for 25–30 minutes, or until golden and cooked through.
- **Option 2 – Air Fryer:**
- Air fry at 375°F (190°C) for 15–18 minutes.
- **Optional:** Sear both sides in a skillet for 2–3 minutes for added crisp before baking.
- **Let It Rest:**
- Remove toothpicks carefully. Let sit for 5 minutes to prevent the cheese from escaping too soon.
- **Serve and Wow:**
- Slice in and watch the molten cheese ooze! Garnish with parsley and serve with mashed potatoes, rice, or a side salad.
Nutrition
Tried this recipe?
Let us know how it was!FAQ About Lava Chicken
Q: Can I prepare this ahead of time?
A: Absolutely! You can stuff the chicken breasts up to 24 hours ahead and keep them refrigerated. Add the breadcrumb coating just before cooking for the crispiest results.
Q: My chicken always opens up and the cheese leaks out during cooking. Help!
A: Try cutting the pocket deeper but with a smaller opening. You can also secure with toothpicks, or try the “butterflying” method instead—slice almost through the breast and open it like a book, add filling to one side, then fold over and secure edges.
Q: What’s the best way to reheat leftovers?
A: To maintain the crispy exterior, reheat in a 325°F oven for about 15 minutes. Microwave reheating works in a pinch but sacrifices the crispiness.
Q: Can I use chicken thighs instead of breasts?
A: Boneless thighs work beautifully! They’re often more flavorful and forgiving (less likely to dry out), though slightly trickier to stuff due to their irregular shape.
If you enjoyed this recipe, you might also like:
- Easy Summer Lunch Ideas for Kids: Delicious, Budget-Friendly Meals They’ll Love
- Unbelievably Delicious Slow Cooker Cowboy Casserole (Budget-Friendly Comfort Food!)
- 5-Minute Sloppy Joe Seasoning Mix That Saves You Money
Don’t forget to pin this recipe for later and share it with friends looking for budget-friendly family dinner ideas!